The moment you discover a kitchen flood, your heart sinks. It’s a distressing scene that many homeowners, especially here in water-prone Austin, Texas, are all too familiar with.
Whether it’s due to common issues like a leaky faucet, overflowing sink, or a malfunctioning dishwasher, or less typical causes such as a faulty refrigerator or a poorly installed water pipe, the result is the same – a disastrous mess threatening your beloved kitchen.
You may be feeling overwhelmed and anxious about the potential flood damage and the cost of repairs. But take heart; it’s not all doom and gloom. With swift action, the right approach, and a little bit of grit, it’s entirely possible to minimize the damage and salvage your kitchen.
This comprehensive guide aims to empower you in these trying times. Focusing on a budget-conscious and efficient DIY approach, we’ll walk you through essential steps to dry out your kitchen, prevent structural damage, and halt the growth of mold and mildew.
By the end of it, you’ll feel hopeful and assured, equipped with the knowledge to turn this unfortunate event around. So, let’s roll up our sleeves and get started – your kitchen recovery journey begins here.
Step 1: Safety First – Your Top Priority
A kitchen flood can be a shocking sight, leaving you with a racing heart and a head full of questions. But amidst the chaos, your first order of business is to ensure safety – for both you and your home.
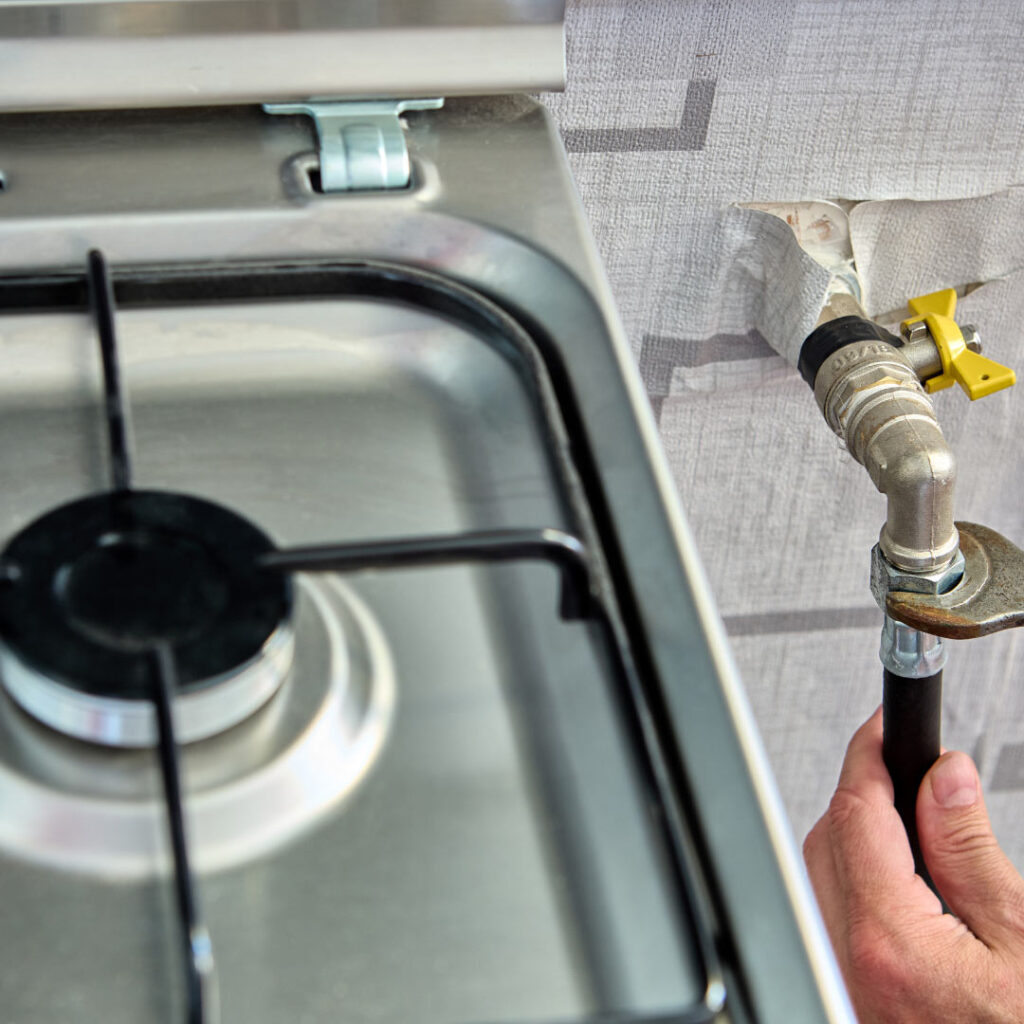
- Disconnect Electricity and Gas: The volatile mix of water and electricity can be life-threatening. Locate your main electrical panel and promptly switch off the power. Remember, if the panel itself is in an affected area, don’t risk entering. Wait for a professional to safely disconnect the electricity. Similarly, turn off the gas supply to prevent potential leaks.
- Suit Up with Protective Gear: Floodwater may contain harmful contaminants and hidden dangers, like sharp objects lurking beneath the surface. Before stepping into the affected area, equip yourself with robust rubber boots, sturdy gloves, eye protection, and a mask. This gear will shield you from potential hazards and keep you safe during the clean-up process.
- Stay Vigilant of Hidden Dangers: Floods can cause unseen structural damage. Be cautious of sagging ceilings, warped walls, or unstable flooring. If you spot any signs of such damage, it’s best to step back and leave the clean-up to professionals.
Remember, as much as you yearn to restore your kitchen to its former glory, nothing is more important than your safety. So take these precautions seriously and tread carefully as you begin this journey towards recovery.
Step 2: Bid Farewell to Floodwater
Once you’ve ensured your safety, it’s time to confront the floodwater head-on. The quicker you can remove the water from your kitchen, the less damage it can do. Here’s how to tackle water removal effectively:
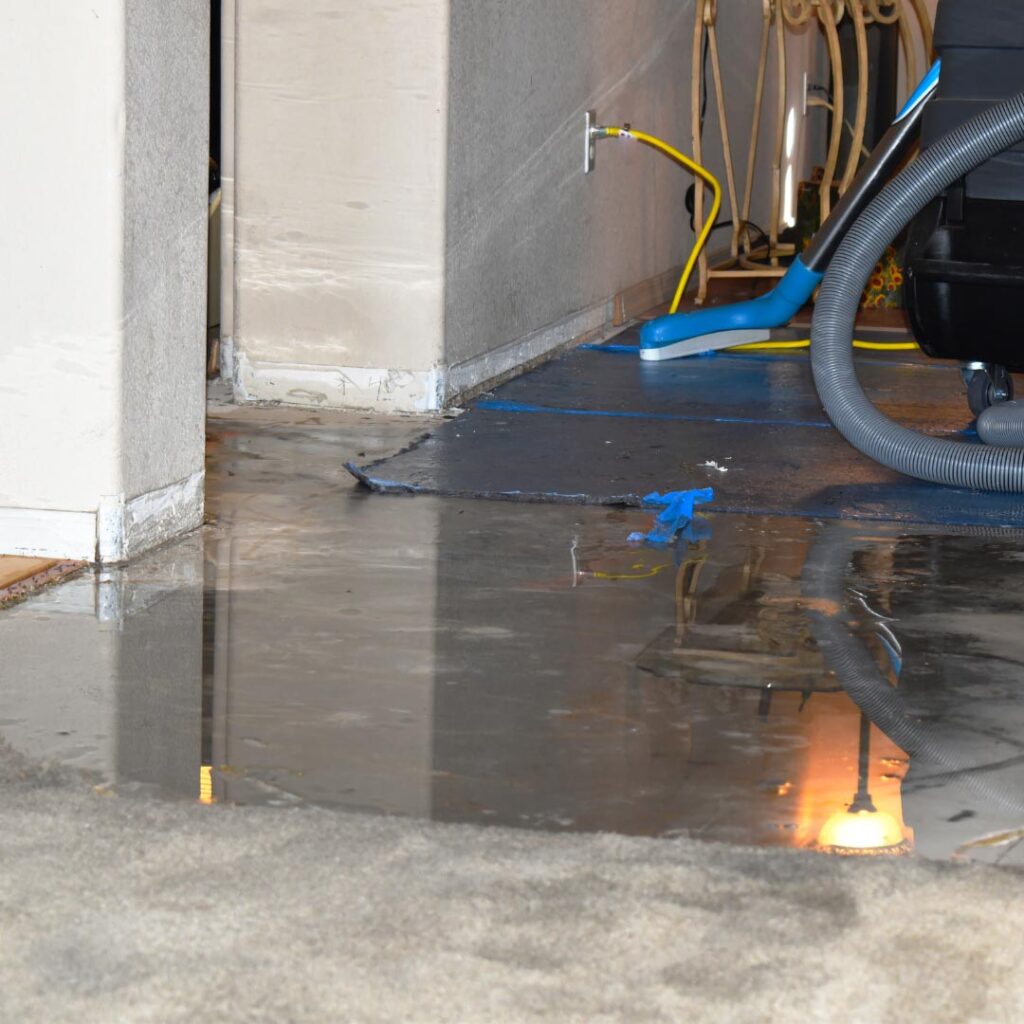
- Deploy Pumps or Wet/Dry Vacuums: If your kitchen resembles a miniature lake, it’s time to bring out the heavy artillery. Use pumps to banish the majority of the water. Once the water level has been significantly reduced, switch to a wet/dry vacuum to suction out the remaining moisture. Remember, every drop of water you remove is a step towards restoring your kitchen.
- Soak Up with Towels: If your damage is less of a lake and more of a puddle, towels will be your best friends. Use them to soak up as much water as possible. Wring them out over a sink or tub and repeat until the affected area is mostly dry. It might be a bit laborious, but think of it as a workout with a purpose – saving your kitchen!
- Let the Fresh Air In: Mother Nature can be a great ally in your battle against floodwater. If the weather permits, swing open your windows and doors. This will boost ventilation and aid the natural drying process. Feel the breeze and imagine it carrying away the dampness and distress of the flood.
Remember, each step you take is a stride towards reclaiming your kitchen. Stay focused, remain patient, and keep going. You’re doing great!
Step 3: Rescue Your Belongings
Post-flood, your kitchen may look like a battleground strewn with casualties – your beloved appliances, cherished cookware, and precious utensils. But not everything might be lost. Here’s how you can salvage what’s left:
- Assess the Damage: Begin by taking a careful inventory of the items affected by the flood. This includes appliances, cookware, utensils, and even pantry items. Make a list of what you find, noting the extent of the damage.
- Prioritize Your Salvage Efforts: Start with the most valuable or difficult-to-replace items. For instance, an antique serving dish may warrant immediate attention over a replaceable spatula.
- Clean and Dry Items: Once you’ve prioritized, it’s time to clean. Rinse off mud or debris, then disinfect with a solution of 1 cup of bleach to 5 gallons of water. After cleaning, dry items thoroughly to prevent mold growth.
- Consult Professionals for Appliances: Before attempting to clean or test electrical appliances, consult a professional. They can assess whether the appliance is salvageable or poses a safety risk.
Remember, some belongings may be beyond saving. It’s important to let go when necessary and focus on what you can save. It may be tough, but keep in mind that items can be replaced – your safety and well-being cannot.
Step 4: Time to Dry Out the Space
After the water removal and salvage operations, it’s time to focus on drying out your kitchen completely. This step is crucial in preventing mold growth and further damage to your home. Here’s how to get that warm, dry kitchen feeling back:
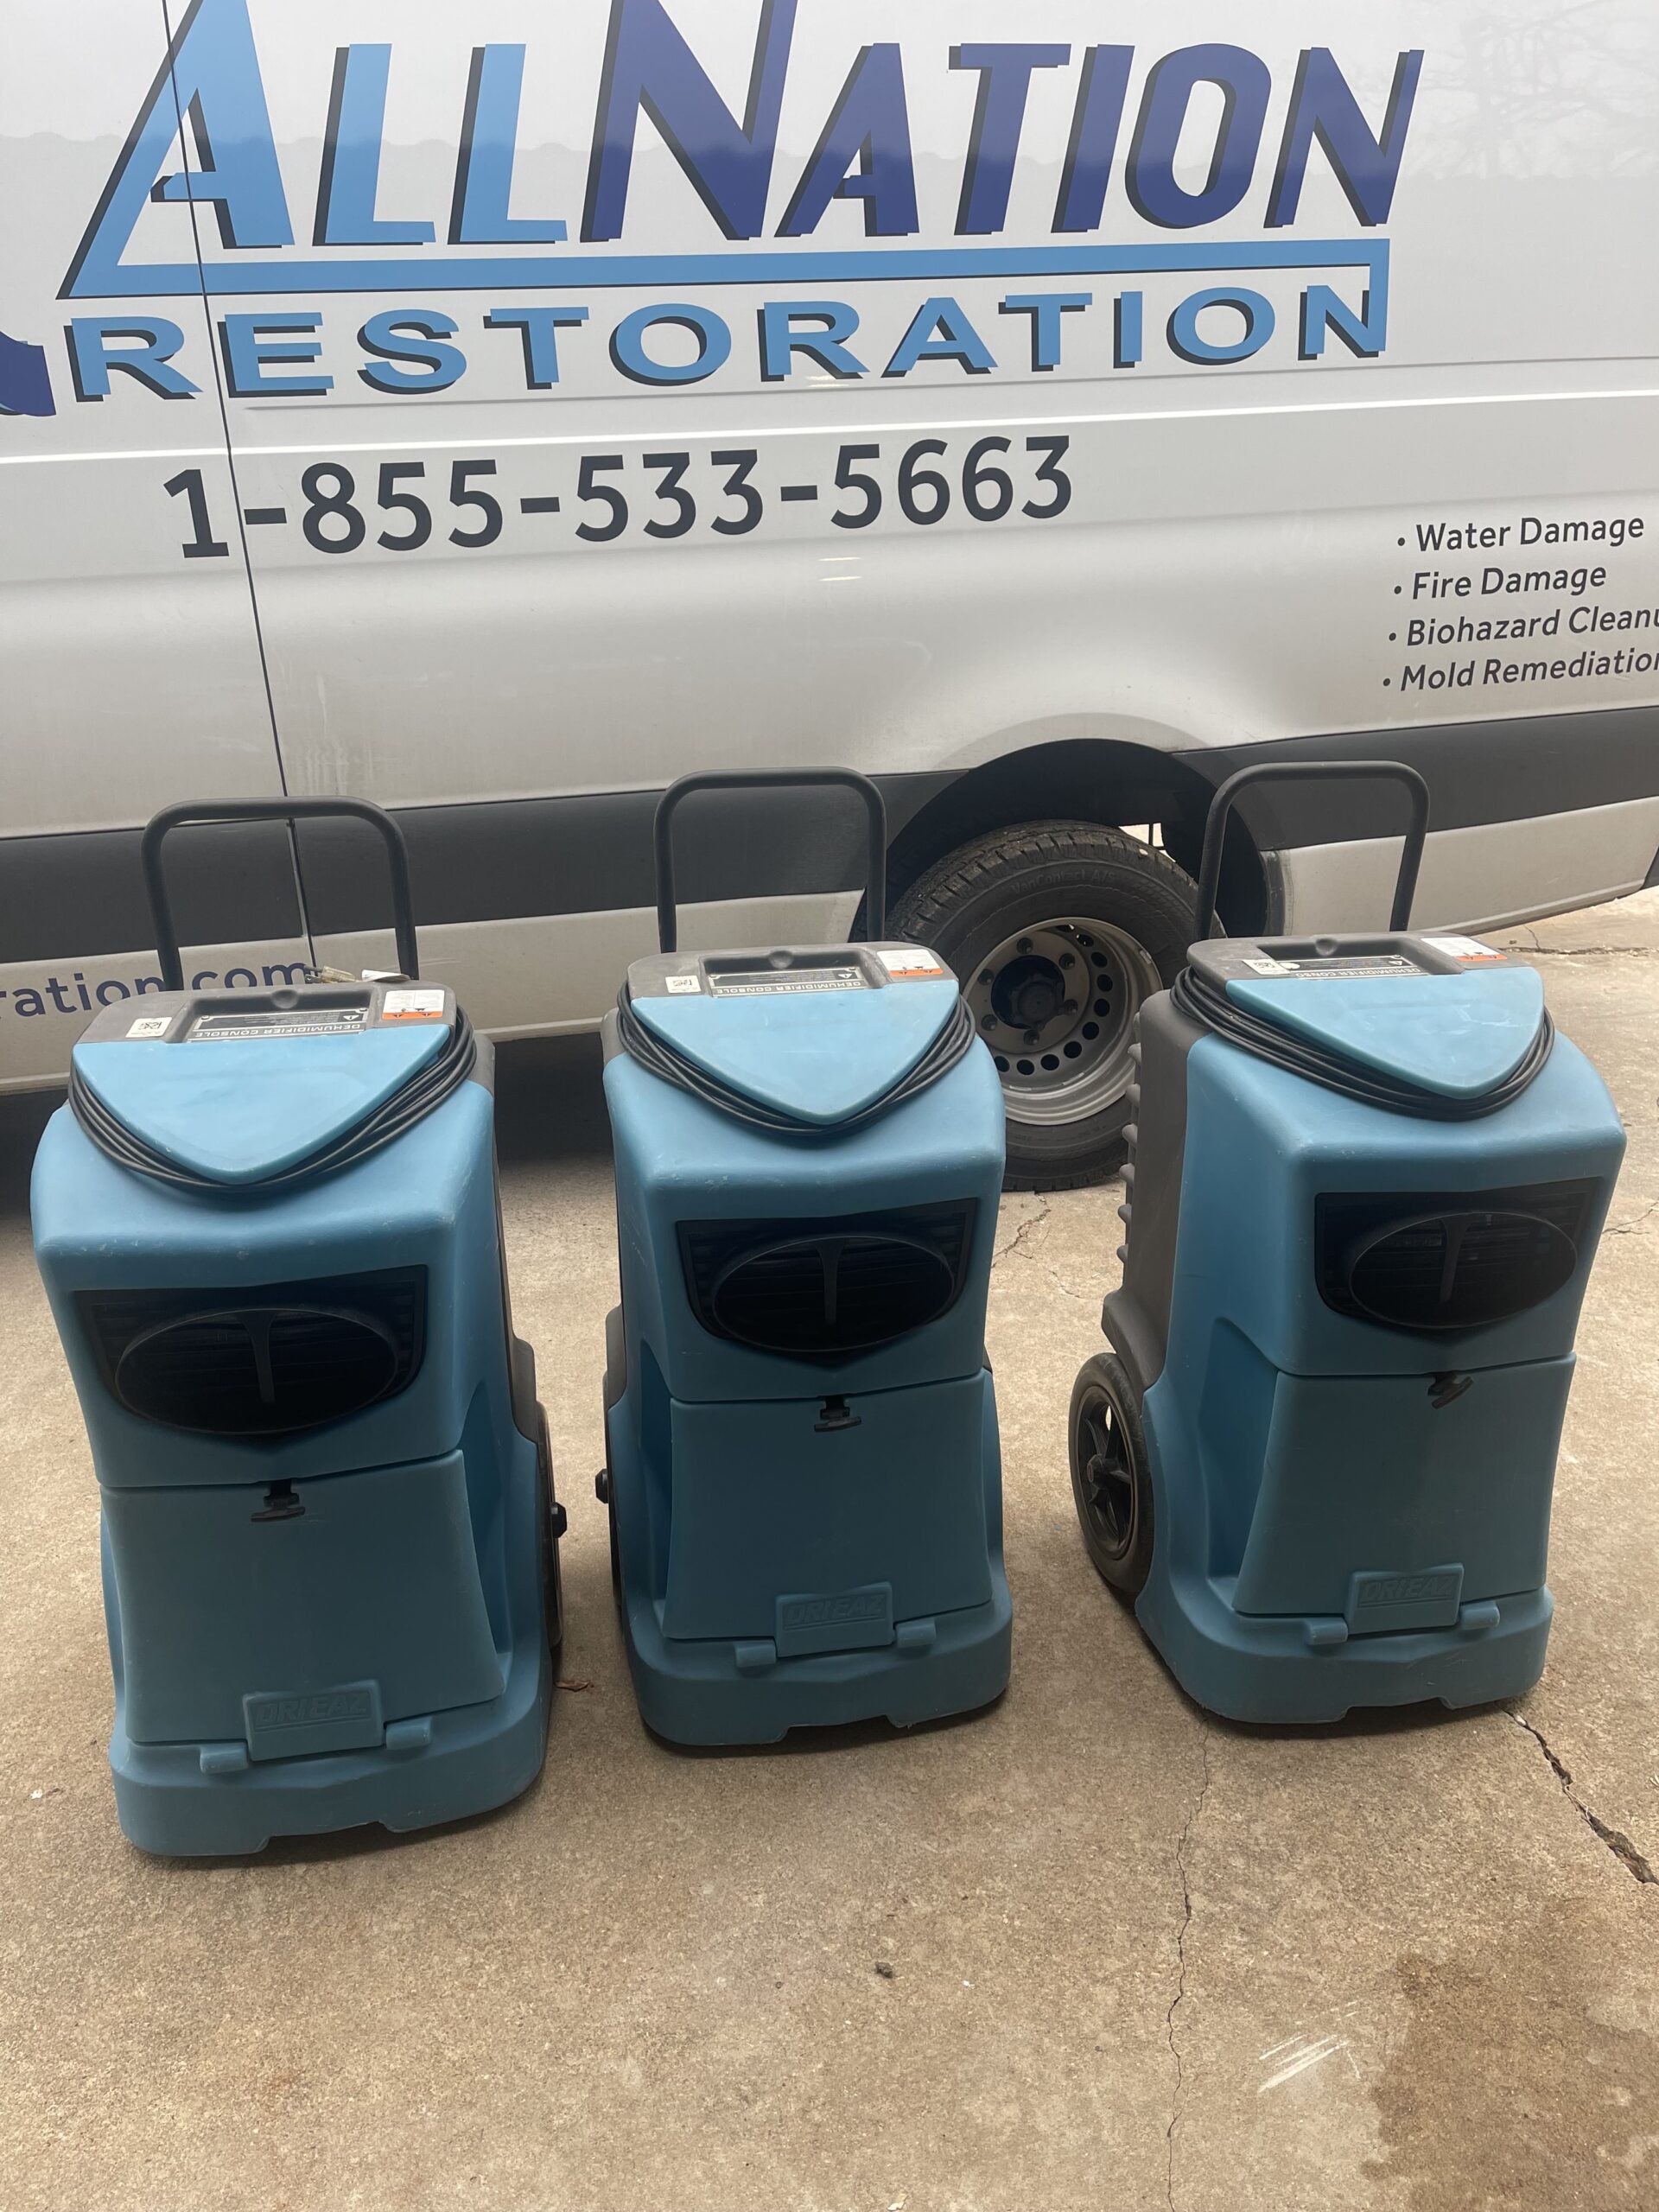
- Keep the Air Moving: Use fans, dehumidifiers, or heaters to speed up the drying process. Remember, the faster you dry your kitchen, the less chance mold will establish a foothold.
- Target Hidden Moisture Traps: Pay special attention to hidden spots that might retain moisture – under appliances, behind cabinets, or within the crevices of furniture. These areas are often overlooked but can secretly harbor mold.
- Monitor the Drying Process: Keep a close eye on your progress. Feel surfaces to check for dampness, and keep your dehumidifier running until its collection tank stops filling up.
- Consider Professional Help: If the flood was extensive or if you suspect hidden water damage, consider hiring a professional water damage restoration service. They have specialized equipment and expertise to ensure your kitchen is thoroughly dried out.
Remember, drying your kitchen may take time and patience, but it’s an essential step towards returning to normalcy. Imagine your first post-flood cup of coffee in your warm, dry kitchen – it’s worth the effort!
Step 5: Sanitize and Prevent Mold
Now that your kitchen is dry, it’s time to roll up your sleeves and tackle the final task – eliminating any lurking germs and preventing mold growth. Here’s how to reclaim your kitchen from these unwanted invaders:
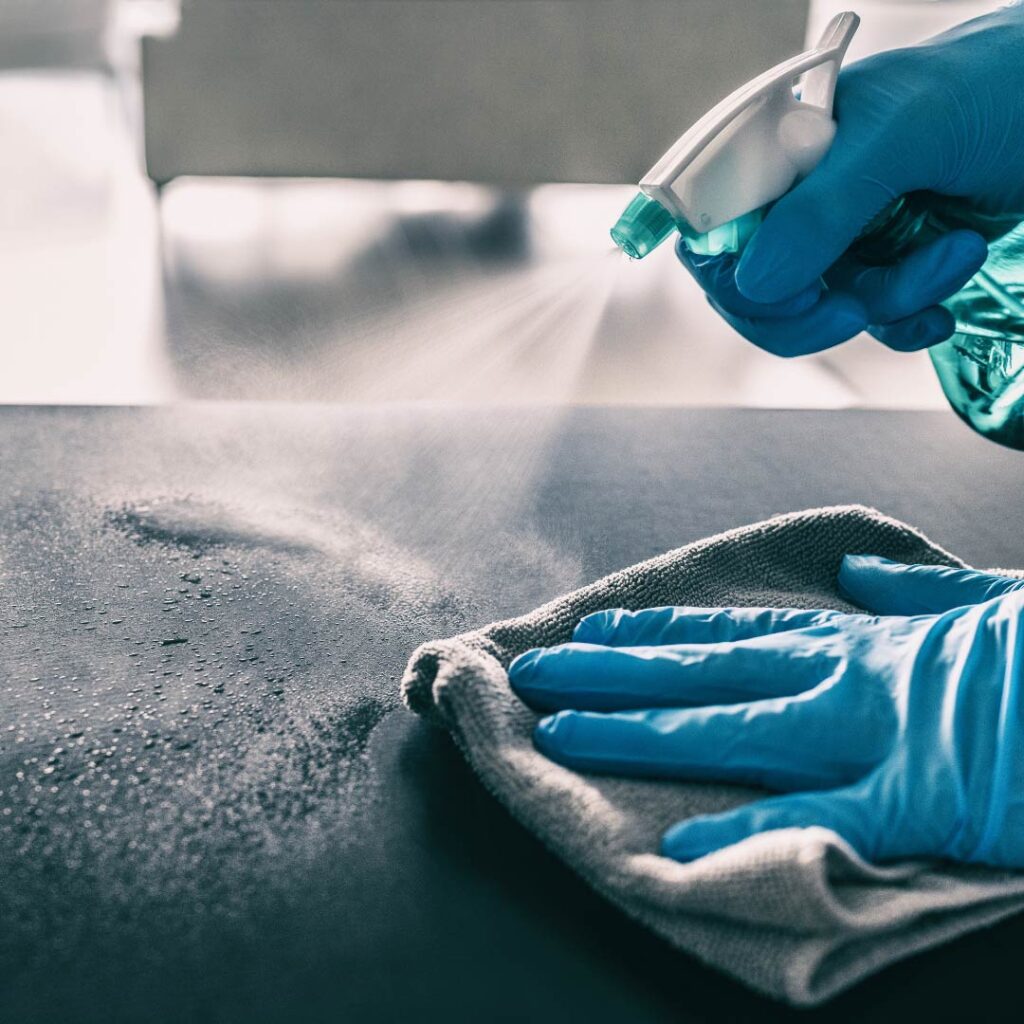
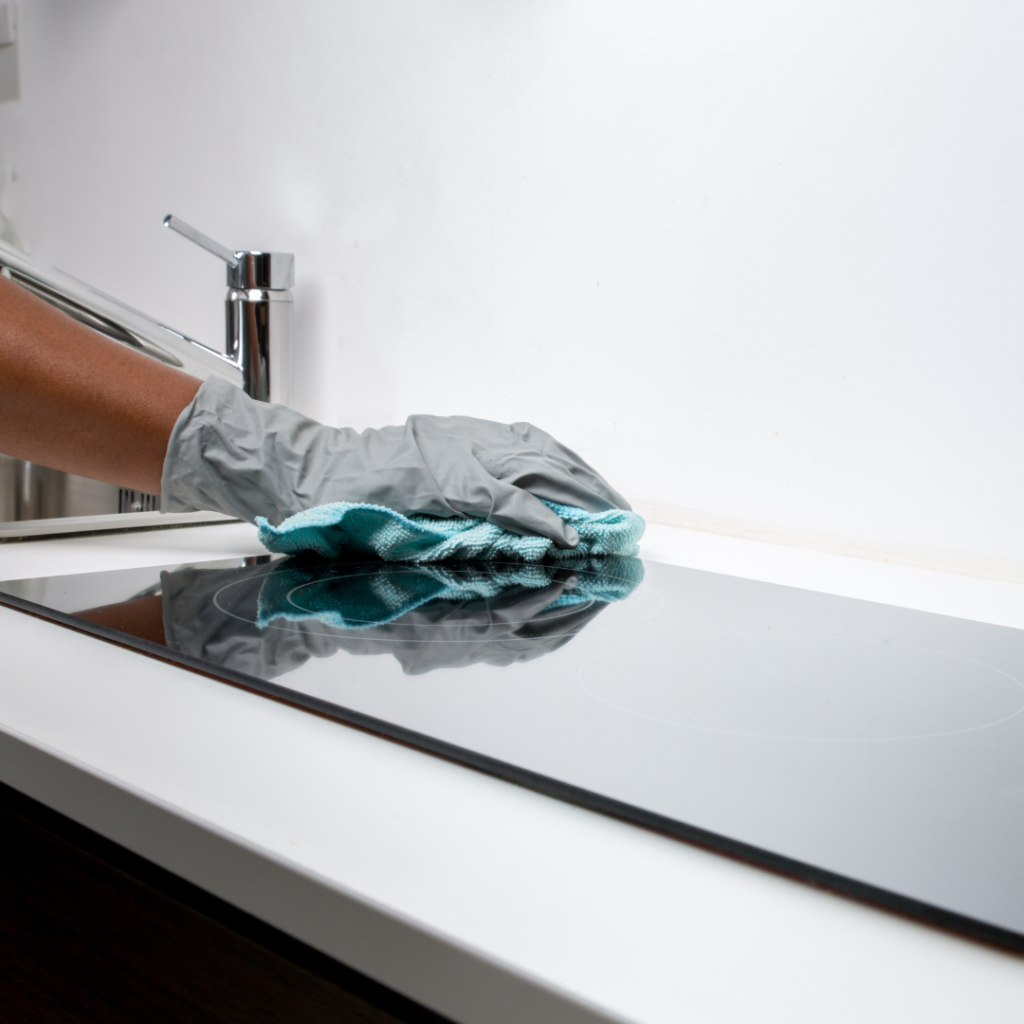
- Sanitize Everything: Start by preparing a strong cleaning solution – one cup of bleach mixed with five gallons of water. Use this to scrub all surfaces, including floors, walls, countertops, and cabinets. Remember, floodwater can carry bacteria and contaminants, so don’t skip this step.
- Focus on Non-Disposable Items: Pay special attention to non-disposable items that come in contact with the floodwater. This includes pots, pans, utensils, and dishes. Make sure to sanitize them thoroughly before using them again.
- Prevent Mold Growth: After sanitizing, use a mold inhibitor to treat all surfaces. This will help prevent any spores that survived the cleaning from growing into full-blown mold colonies.
- Stay Vigilant: Even after thorough cleaning and drying, stay alert for signs of mold in the following weeks. If you spot any, consider calling in professionals for mold removal.
Remember, a clean, mold-free kitchen isn’t just about aesthetics; it’s crucial for your health and safety, too. So put on some music, get your cleaning gear ready, and imagine the satisfaction of seeing your kitchen sparkle again. You’ve got this!
Lean on the Experts
While recovering from a kitchen flood can seem daunting, remember that you’re not alone. All Nation Restoration is ready to assist with our expert knowledge and advanced equipment. Your next step is to reach out to us for any flood-related queries or assistance. We’ll handle the tough cleanup work, allowing you to focus on moving forward with your family. Call All Nation Restoration for help—together, we’ll reclaim the warmth, comfort, and joy of your kitchen.
Click here to learn more about how we can help with water damage restoration in Austin >>>